Introduction
A reliable car air conditioning system is essential for comfort, especially during summer heat. When the compressor begins to fail, the entire AC unit struggles, which can leave you with warm air and even cause damage to other connected components.
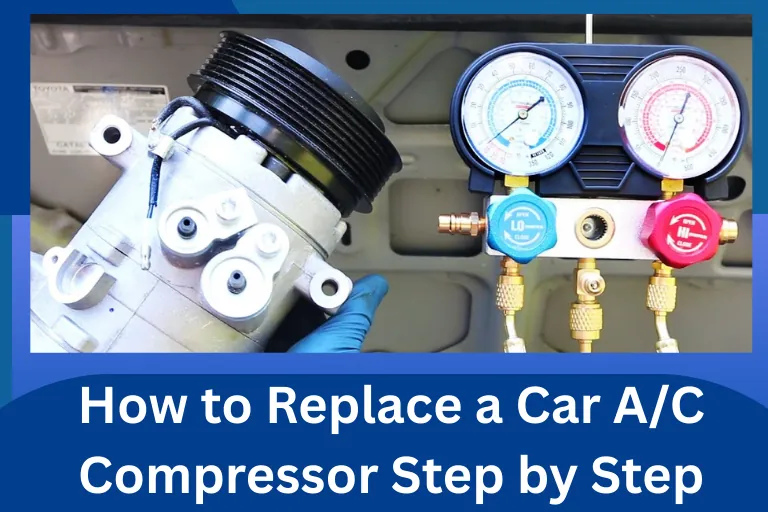
Performing an AC compressor replacement might sound difficult, but the task becomes much easier with proper tools and step-by-step guidance. In this article, we learn how to spot the signs of compressor failure and prepare your vehicle for repair.
What is A/C Compressor Replacement?

A/C compressor replacement involves removing a damaged compressor and installing a new one in your car’s air conditioning system. This process restores refrigerant circulation, improves cooling efficiency, and prevents damage to other AC parts.
Automobile A/C System Evolution
Gradually, automobile AC systems evolved from vapor compression setups to non-conventional systems and modern arrangements. Research shows that the cooling potential of an LPG vaporizer contributed about 26% of AC performance during eco-friendly driving conditions.
Signs You Need a New A/C Compressor
Here are some common signs that you need a new AC compressor.
- Warm Air from Vents: Blowing warm air means the compressor isn’t pressurizing refrigerant, requiring AC compressor replacement.
- Loud Noises: Grinding or rattling sounds signal worn parts and the need to fix AC compressor problems quickly.
- Leaking Refrigerator: Visible leaks under the car indicate seal damage that requires your AC compressor replacement. This auto air conditioning compressor replacement issue can harm the cooling system if left untreated.
- Frequent Clutch Cycling: Constant clutch engagement shows pressure problems, often requiring professional auto air conditioning compressor replacement.
- Complete System Shutdown: A seized compressor stops cooling completely, making AC compressor replacement unavoidable.
Are you noticing warm air, strange noises, or frequent clutch cycling? Contact us today for a professional AC compressor replacement and ensure your car stays cool.
Tools You’ll Need for A/C Compressor Replacement
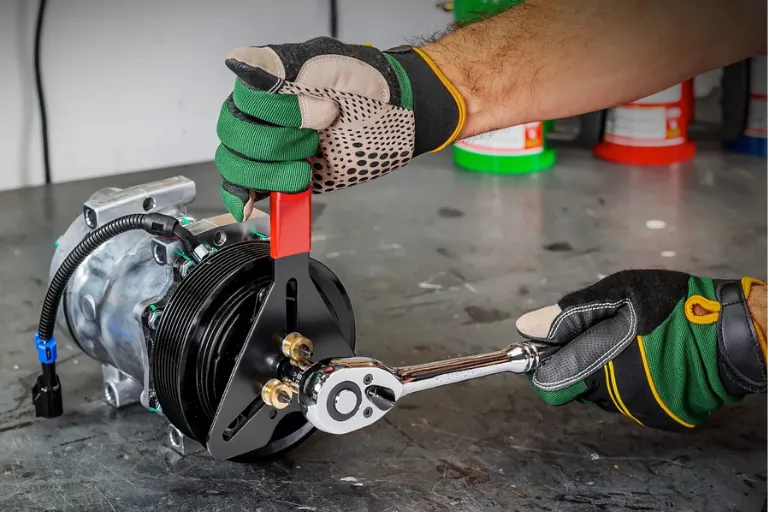
Before starting an auto air conditioning compressor replacement, gather these essential items to avoid interruptions during the process:
- New AC Compressor
- Mechanic’s Tools
- Refrigerant Recovery Machine
- AC Manifold Gauge Set
- Safety Gear
- Refrigerant and Oil
- O-Rings and Seals
- Torque Wrench
- Vacuum Pump
Having these tools ready makes the AC compressor replacement process smoother, safer, and more effective.
Step-by-Step Guide to A/C Compressor Replacement
Performing an auto air conditioning compressor replacement requires careful attention to avoid damaging the system. Follow these steps for a smooth and effective process:
Recover the Refrigerant
Begin with a refrigerant recovery machine to safely remove all refrigerants from the AC system. This step protects the environment, prevents chemical exposure, and ensures compliance with safety rules. Proper recovery prepares the system for AC compressor replacement without risking damage.
Disconnect the Battery
Always disconnect the negative battery terminal before handling any AC parts. This precaution avoids electrical shocks, short circuits, and accidental damage to sensitive wiring. Safety first ensures a smooth AC compressor replacement process.
Remove the Drive Belt
Locate and carefully remove the serpentine or drive belt from the compressor pulley. Inspect the belt for cracks or wear and replace it if needed. Installing a fresh belt during AC compressor replacement ensures reliable operation and prevents future breakdowns.
Disconnect Electrical Connections
Unplug all wiring harnesses linked to the compressor. Label or note them for easy reinstallation. Properly disconnecting electrical connections avoids wiring damage and future malfunctions once the new compressor is in place.
Remove Refrigerant Lines
Next, disconnect the refrigerant lines attached to the compressor. Be cautious not to damage O-rings or connectors. Replace any worn seals before reinstallation. Proper handling keeps the AC system sealed and efficient after auto air conditioning compressor replacement.
Unbolt and Remove the Old Compressor
Carefully unbolt the compressor from its mounting brackets and lift it out of the engine bay. Store bolts and fasteners safely for reuse. Removing it gently avoids damaging nearby components and prepares the space for the new unit.
Prepare the New Compressor
Add the correct amount of manufacturer-recommended refrigerant oil into the new compressor. Replace old O-rings with fresh, lubricated ones for a tight seal. Proper preparation is essential for the durability and performance of the A/C compressor replacement.
Install the New Compressor
Mount the new compressor securely with bolts tightened to factory torque specifications. Reconnect refrigerant lines and electrical plugs, ensuring seals are intact. Correct installation eliminates leaks and restores efficient cooling.
Reinstall the Drive Belt
Refit the serpentine or drive belt and check alignment across all pulleys. A smooth, properly tensioned belt ensures the compressor runs efficiently, avoids unnecessary strain, and supports a successful A/C compressor replacement.
Evacuate and Recharge the System
Use a vacuum pump to remove air and moisture, then recharge with the correct refrigerant type and quantity. This step guarantees reliable cooling and protects internal components during compressor replacement.
Test the System
Start the engine and run the AC at maximum. Check airflow and pressure readings and listen for abnormal noises. A successful test confirms that your A/C compressor replacement is complete and the system is cooling effectively.
Common Mistakes to Avoid During Replacement
A/C compressor replacement is not just about fitting a new part; small mistakes can lead to significant problems. Avoid these common errors to ensure long-lasting performance and efficiency:
- Not flushing the AC System: Skipping flushing leaves debris and oil that can cause premature compressor failure.
- Forgetting to Replace O-Rings and Seals: Old seals create refrigerant leaks and strain during A/C compressor replacement.
- Using Incorrect Refrigerant or Oil Type: Wrong refrigerant or oil damages parts and reduces system life.
- Skipping Vacuum Evacuation: Not removing air and moisture harms cooling and system reliability.
- Over-Tightening Bolts: Incorrect torque causes leaks, vibrations, and pulley misalignment.
Tips to Extend Compressor Life After Replacement
Once you successfully fix AC compressor problems with a new unit, regular care and maintenance can significantly maintain system performance:
- Run the AC Weekly: Turn it on for a few minutes to keep seals lubricated and the system active.
- Maintain Refrigerant Levels: Regular checks prevent pressure drops that strain the compressor.
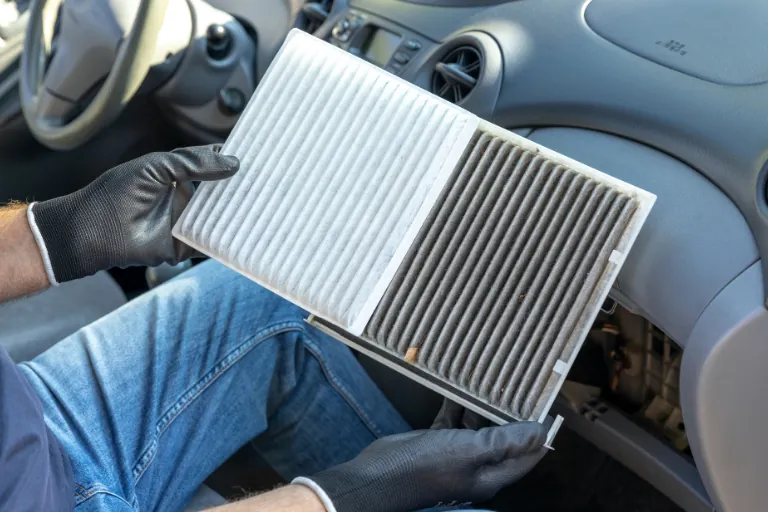
- Replace Cabin Filters: Clean filters reduce strain and keep airflow smooth.
- Inspect Belts and Pulleys: Proper tension prevents extra load and wear on the compressor.
- Schedule Annual Inspections: Yearly checks catch minor issues before they become costly repairs.
Conclusion
Your car’s AC system cannot function without a working compressor. By following the proper process, a step-by-step A/C compressor replacement can restore cooling efficiency and extend the life of your system. Whether you handle it independently or prefer a professional repair, acting early ensures long-term savings.
Don’t let a failed compressor keep you uncomfortable on the road. Contact Guerrero Mobile Mechanics today for expert auto air conditioning compressor replacement. Their trusted mobile service brings professional care directly to you, making it easy to fix AC compressor issues fast.